how it started
this is a helmet... hat... wearable... i don't know i just made it, i didn't put in time to give it a proper name......
i wanted something that i could wear to events, but didn't feel like spending too much money on something. i thought that
making something would be unique and a fun idea.
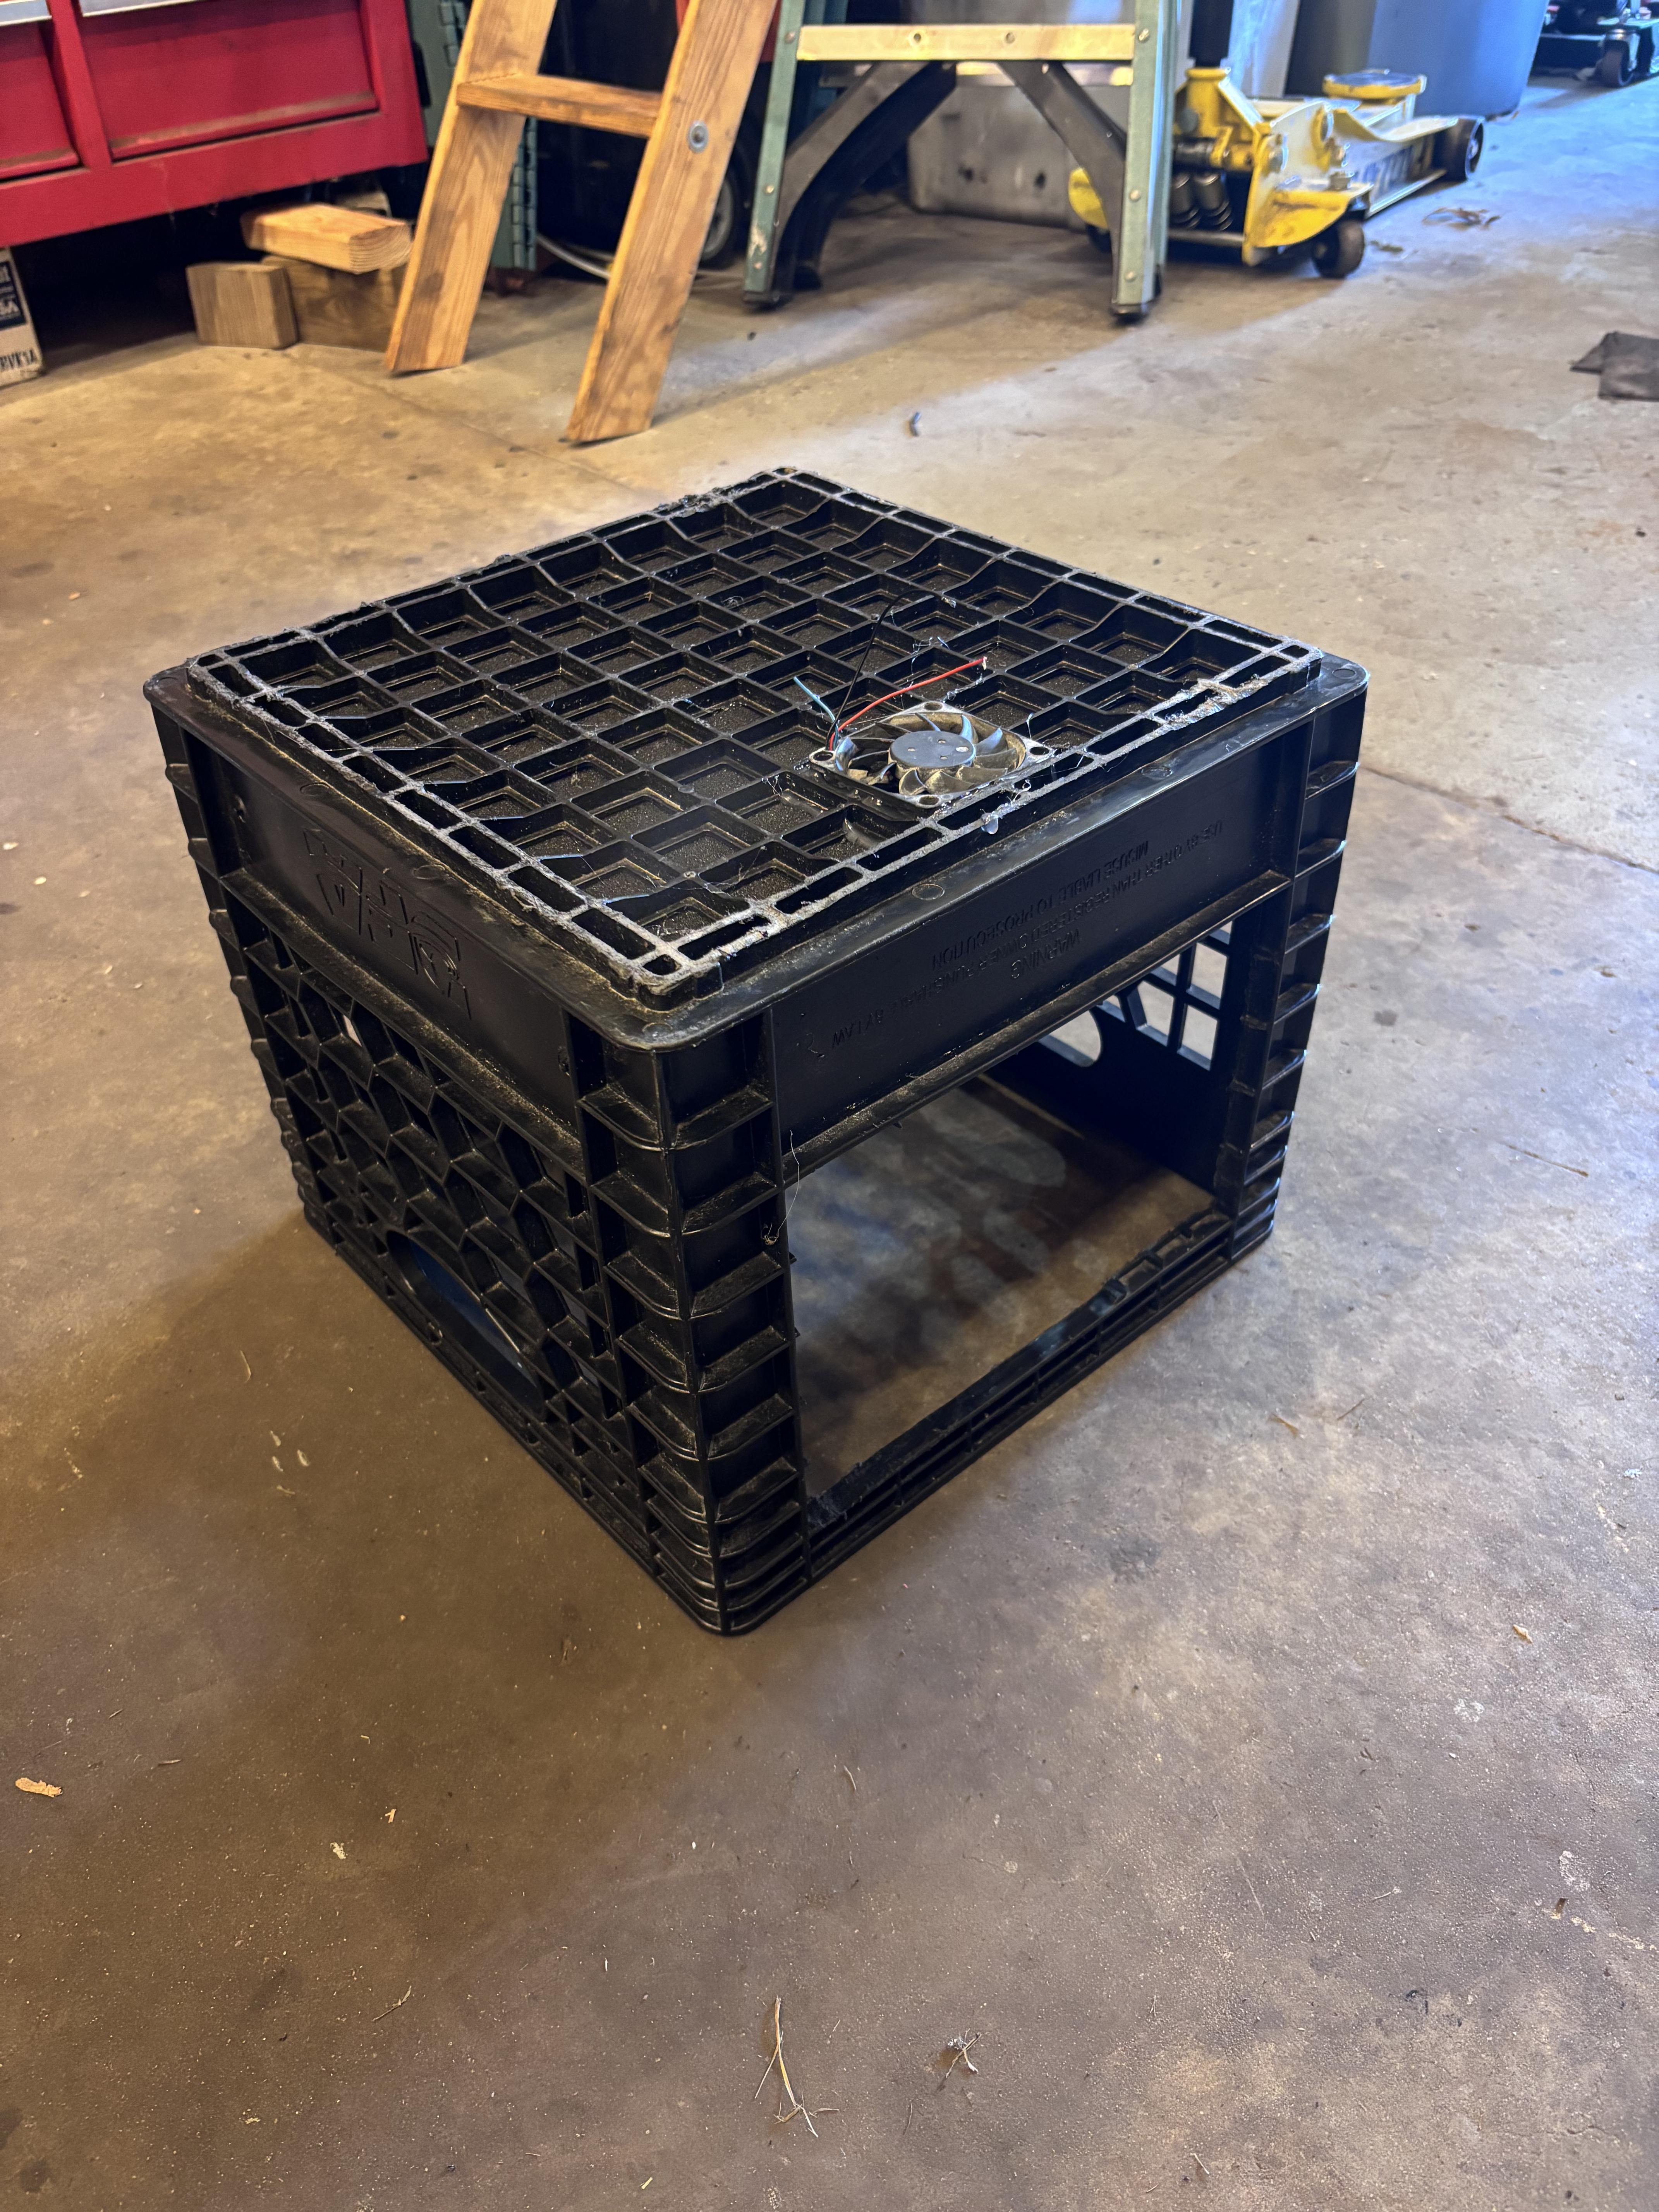
i found an old milk crate and then ordered some clear and tinted plexiglass, along with a WS2812B addressable LED strip.
luckily, the plexiglass that i ordered was the pretty much the same size the lattice in the crate would be after
cutting it out.
building
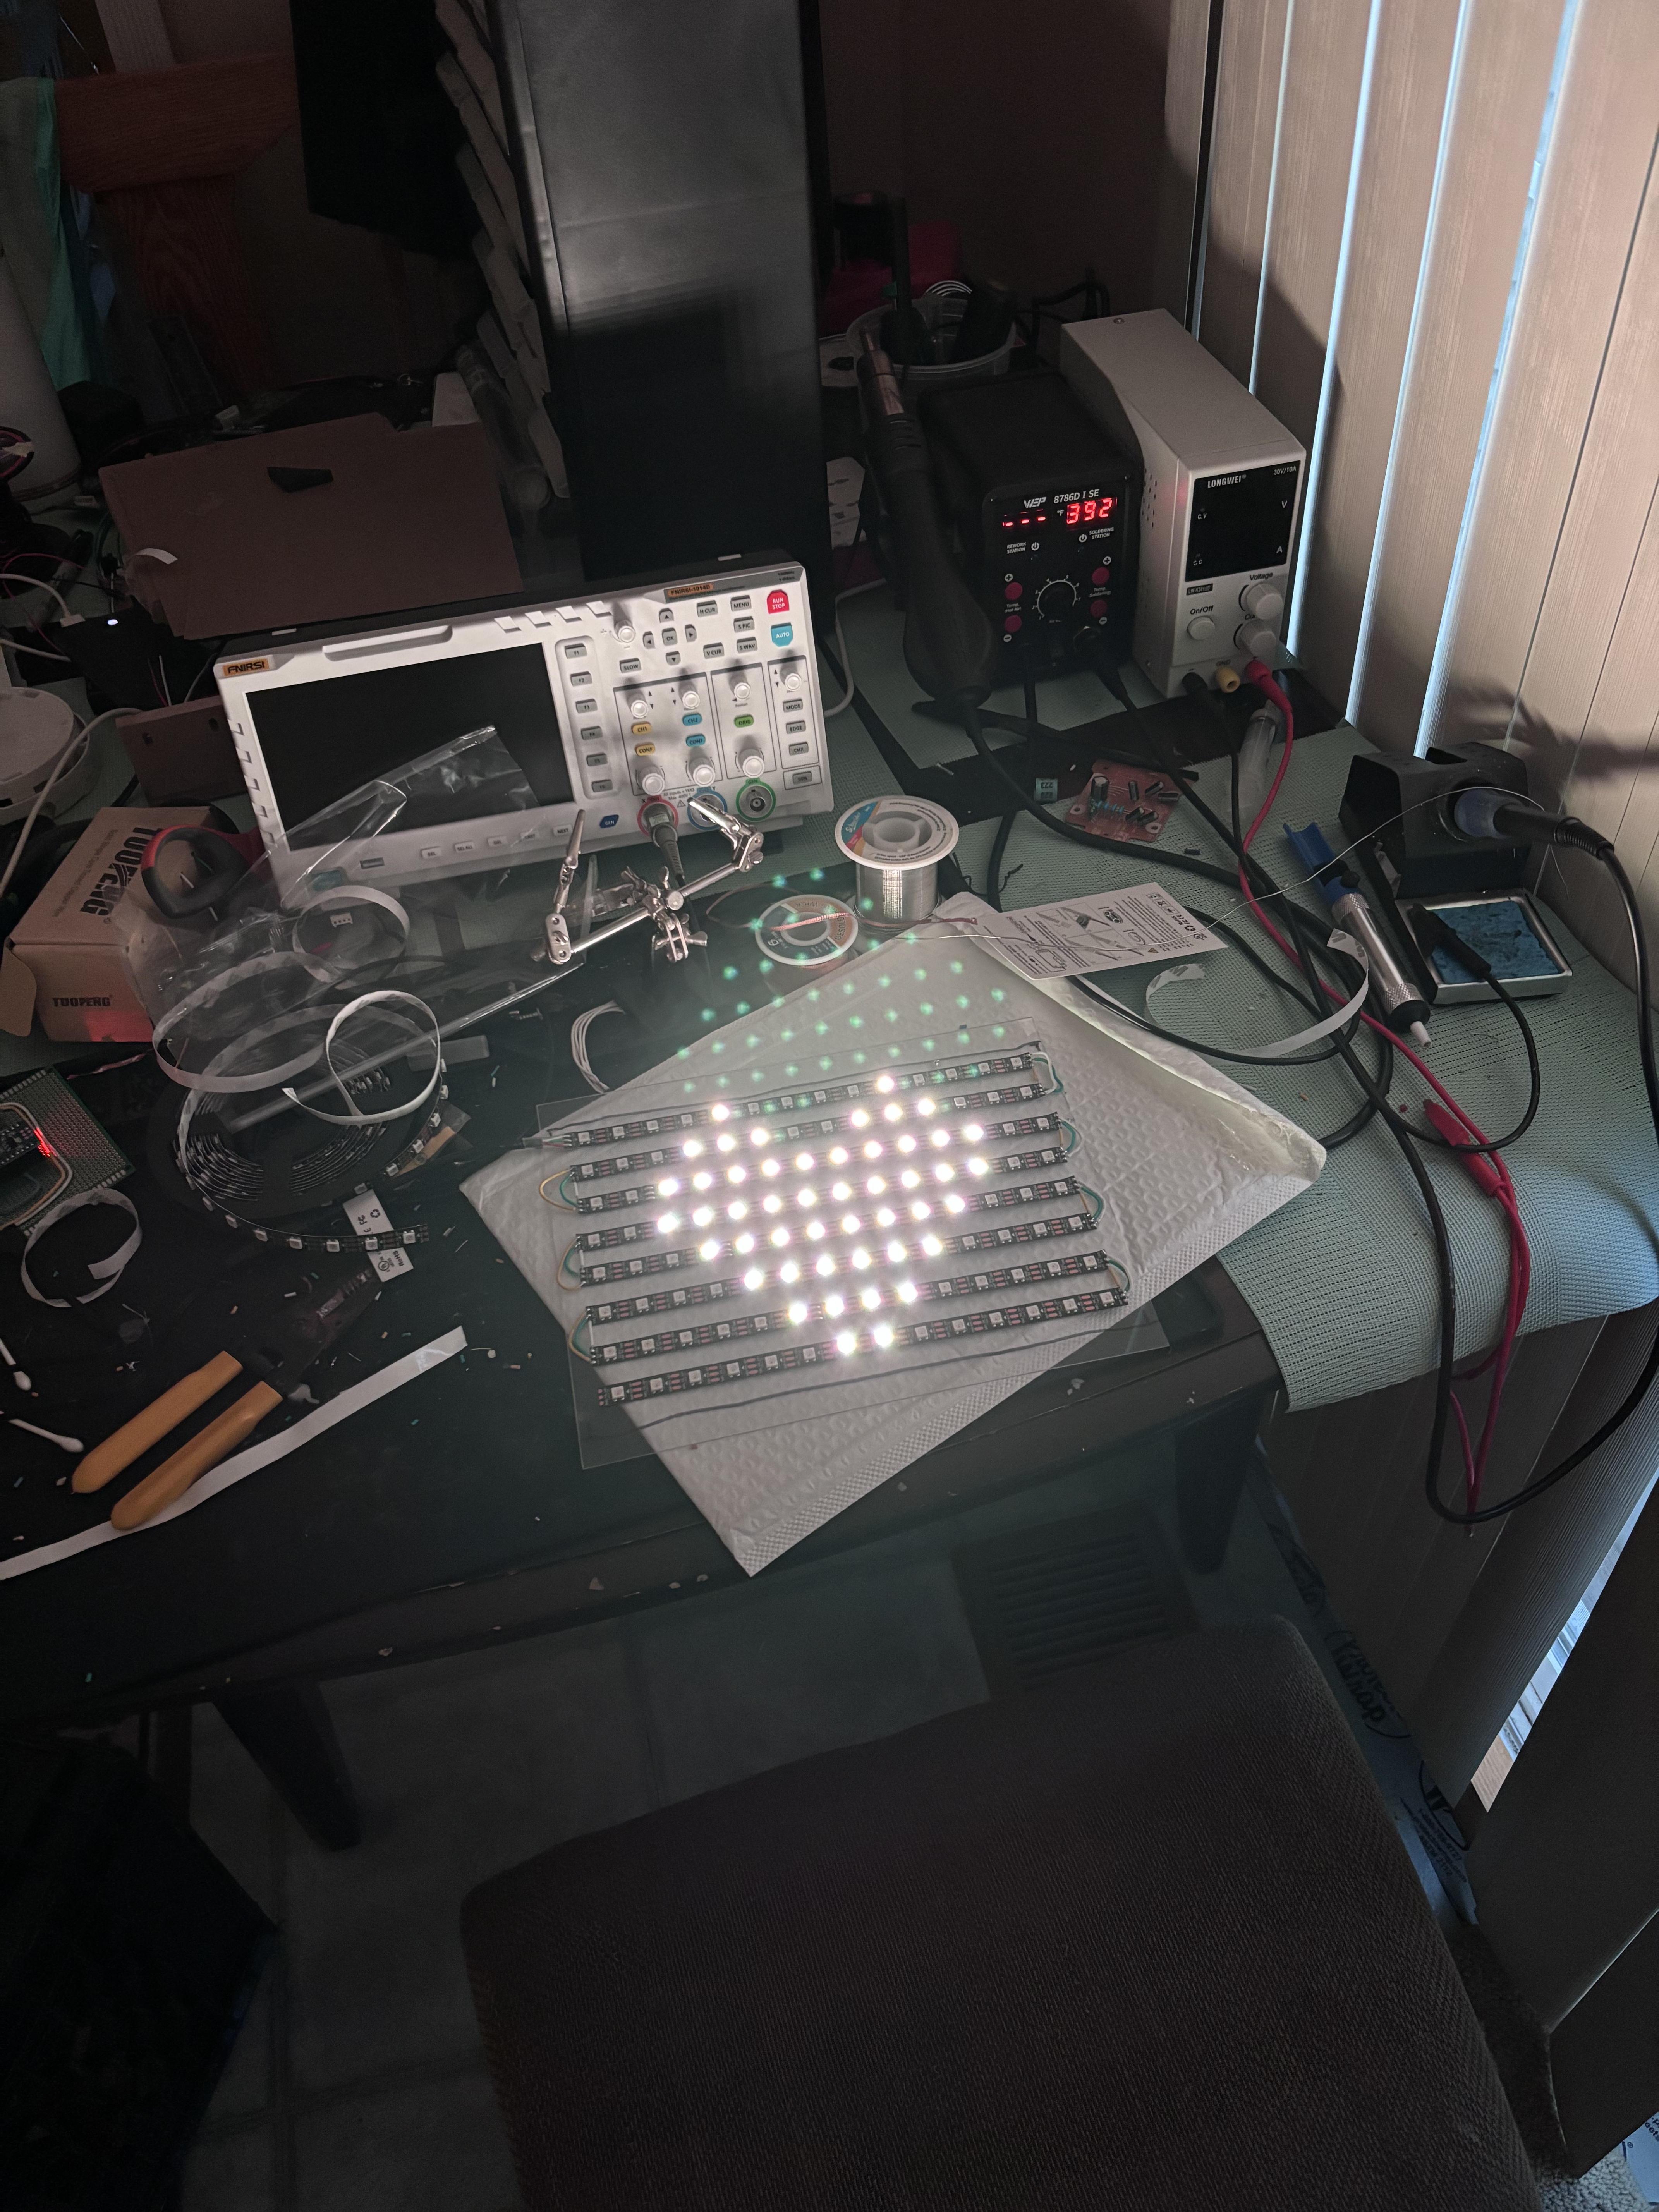
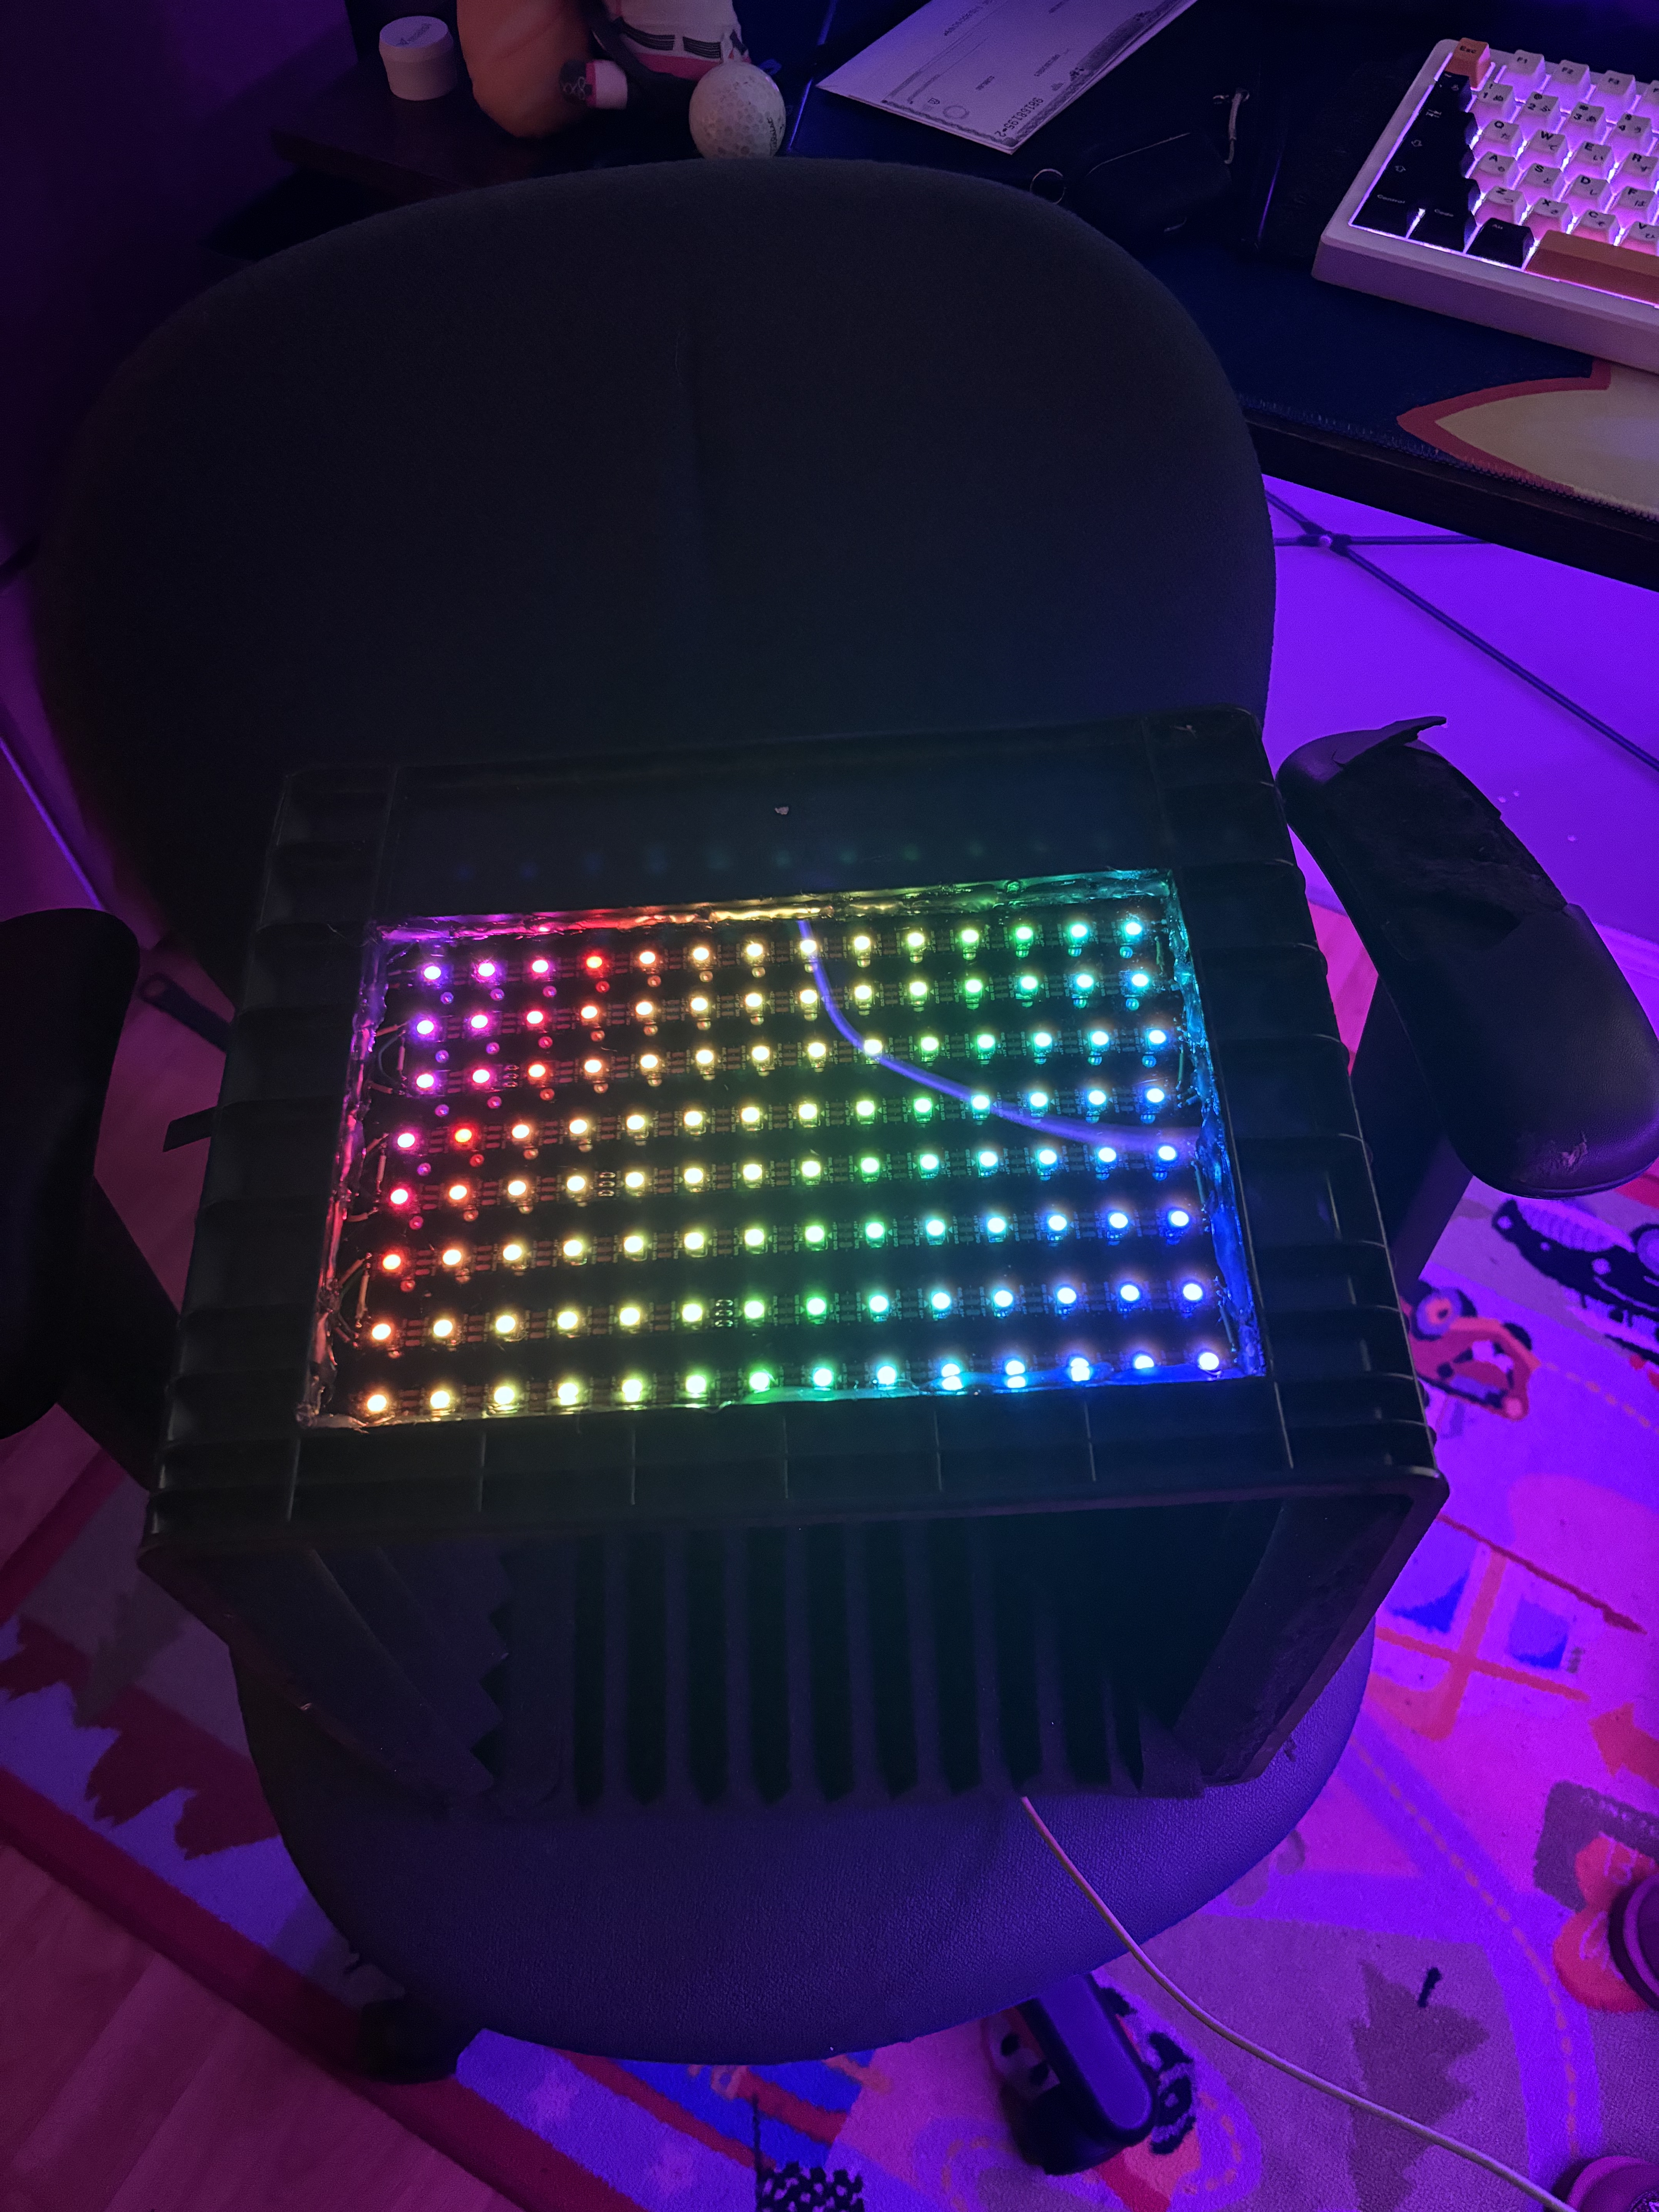
i started building this by laying down a piece of the clear plexiglass down, and cutting the LED strips to an
appropriate size, each cut strip ended up being 14 LEDs each. i stuck down each strip onto the clear plexiglass
leaving about almost half of an inch gap in between each strip, laying them down in a serpentine layout.
i then just attached the entire matrix by soldering wires on each end:
+5V > +5V
DO > DIN
GND > GND
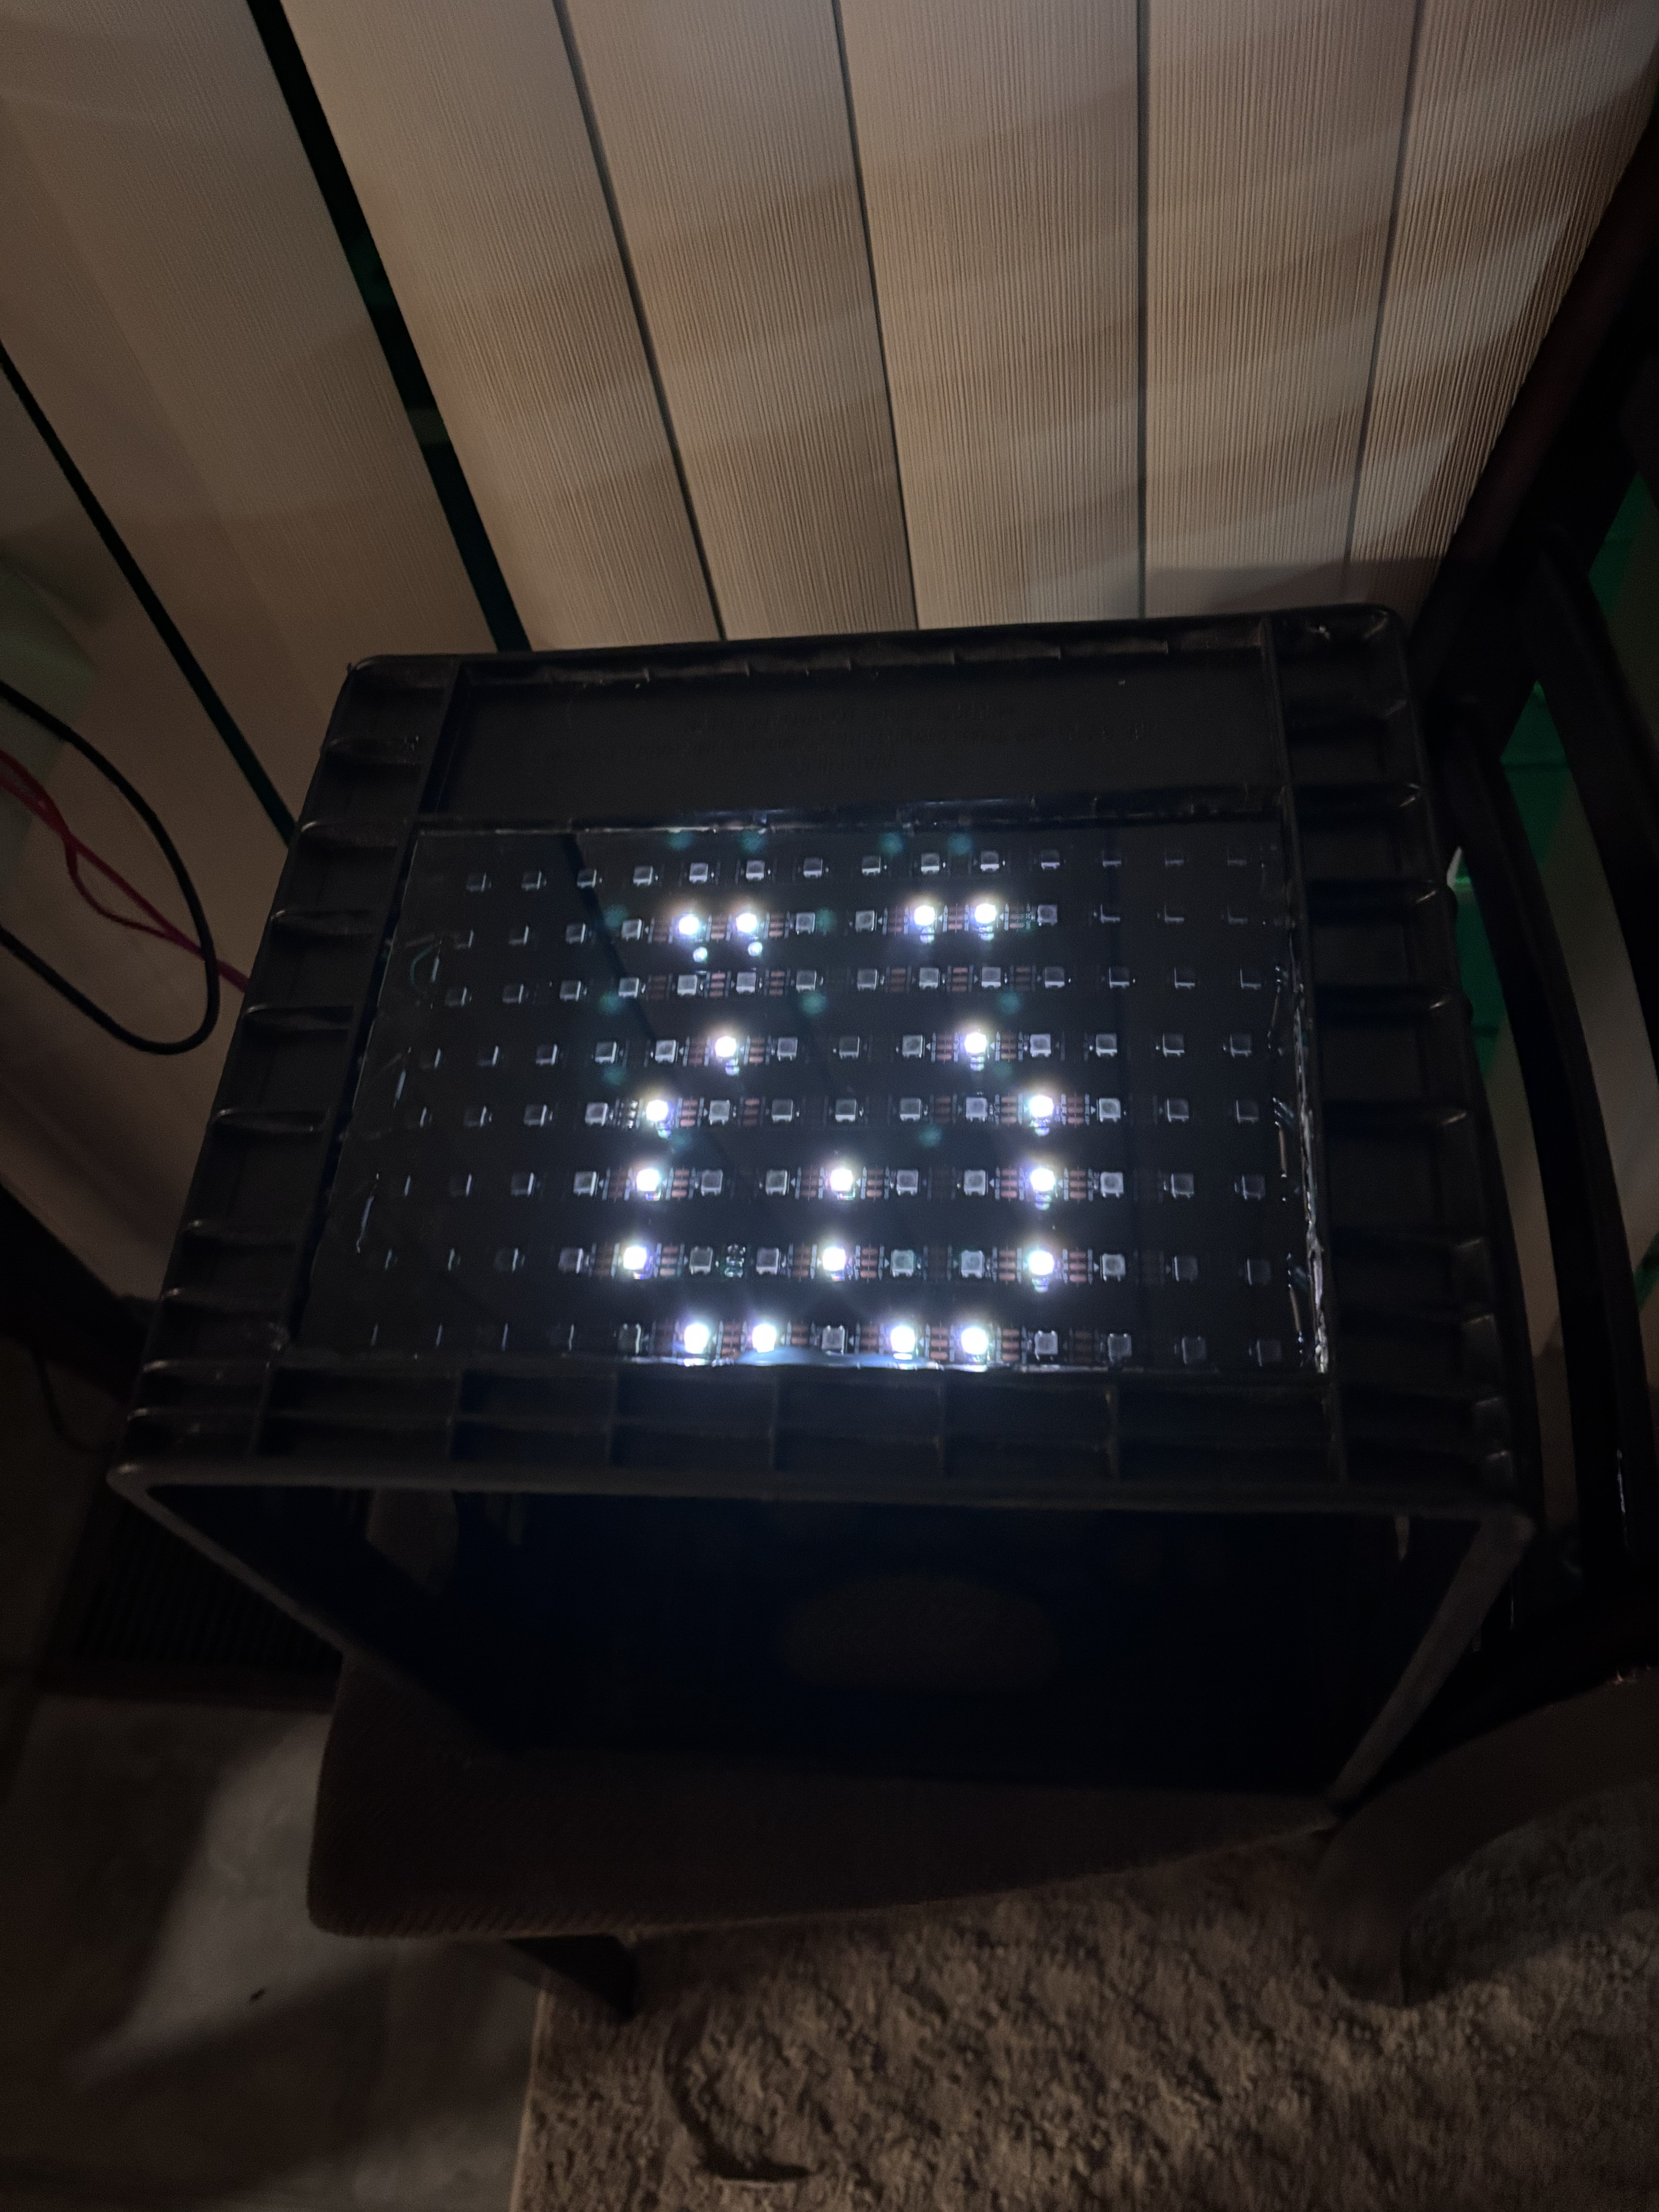
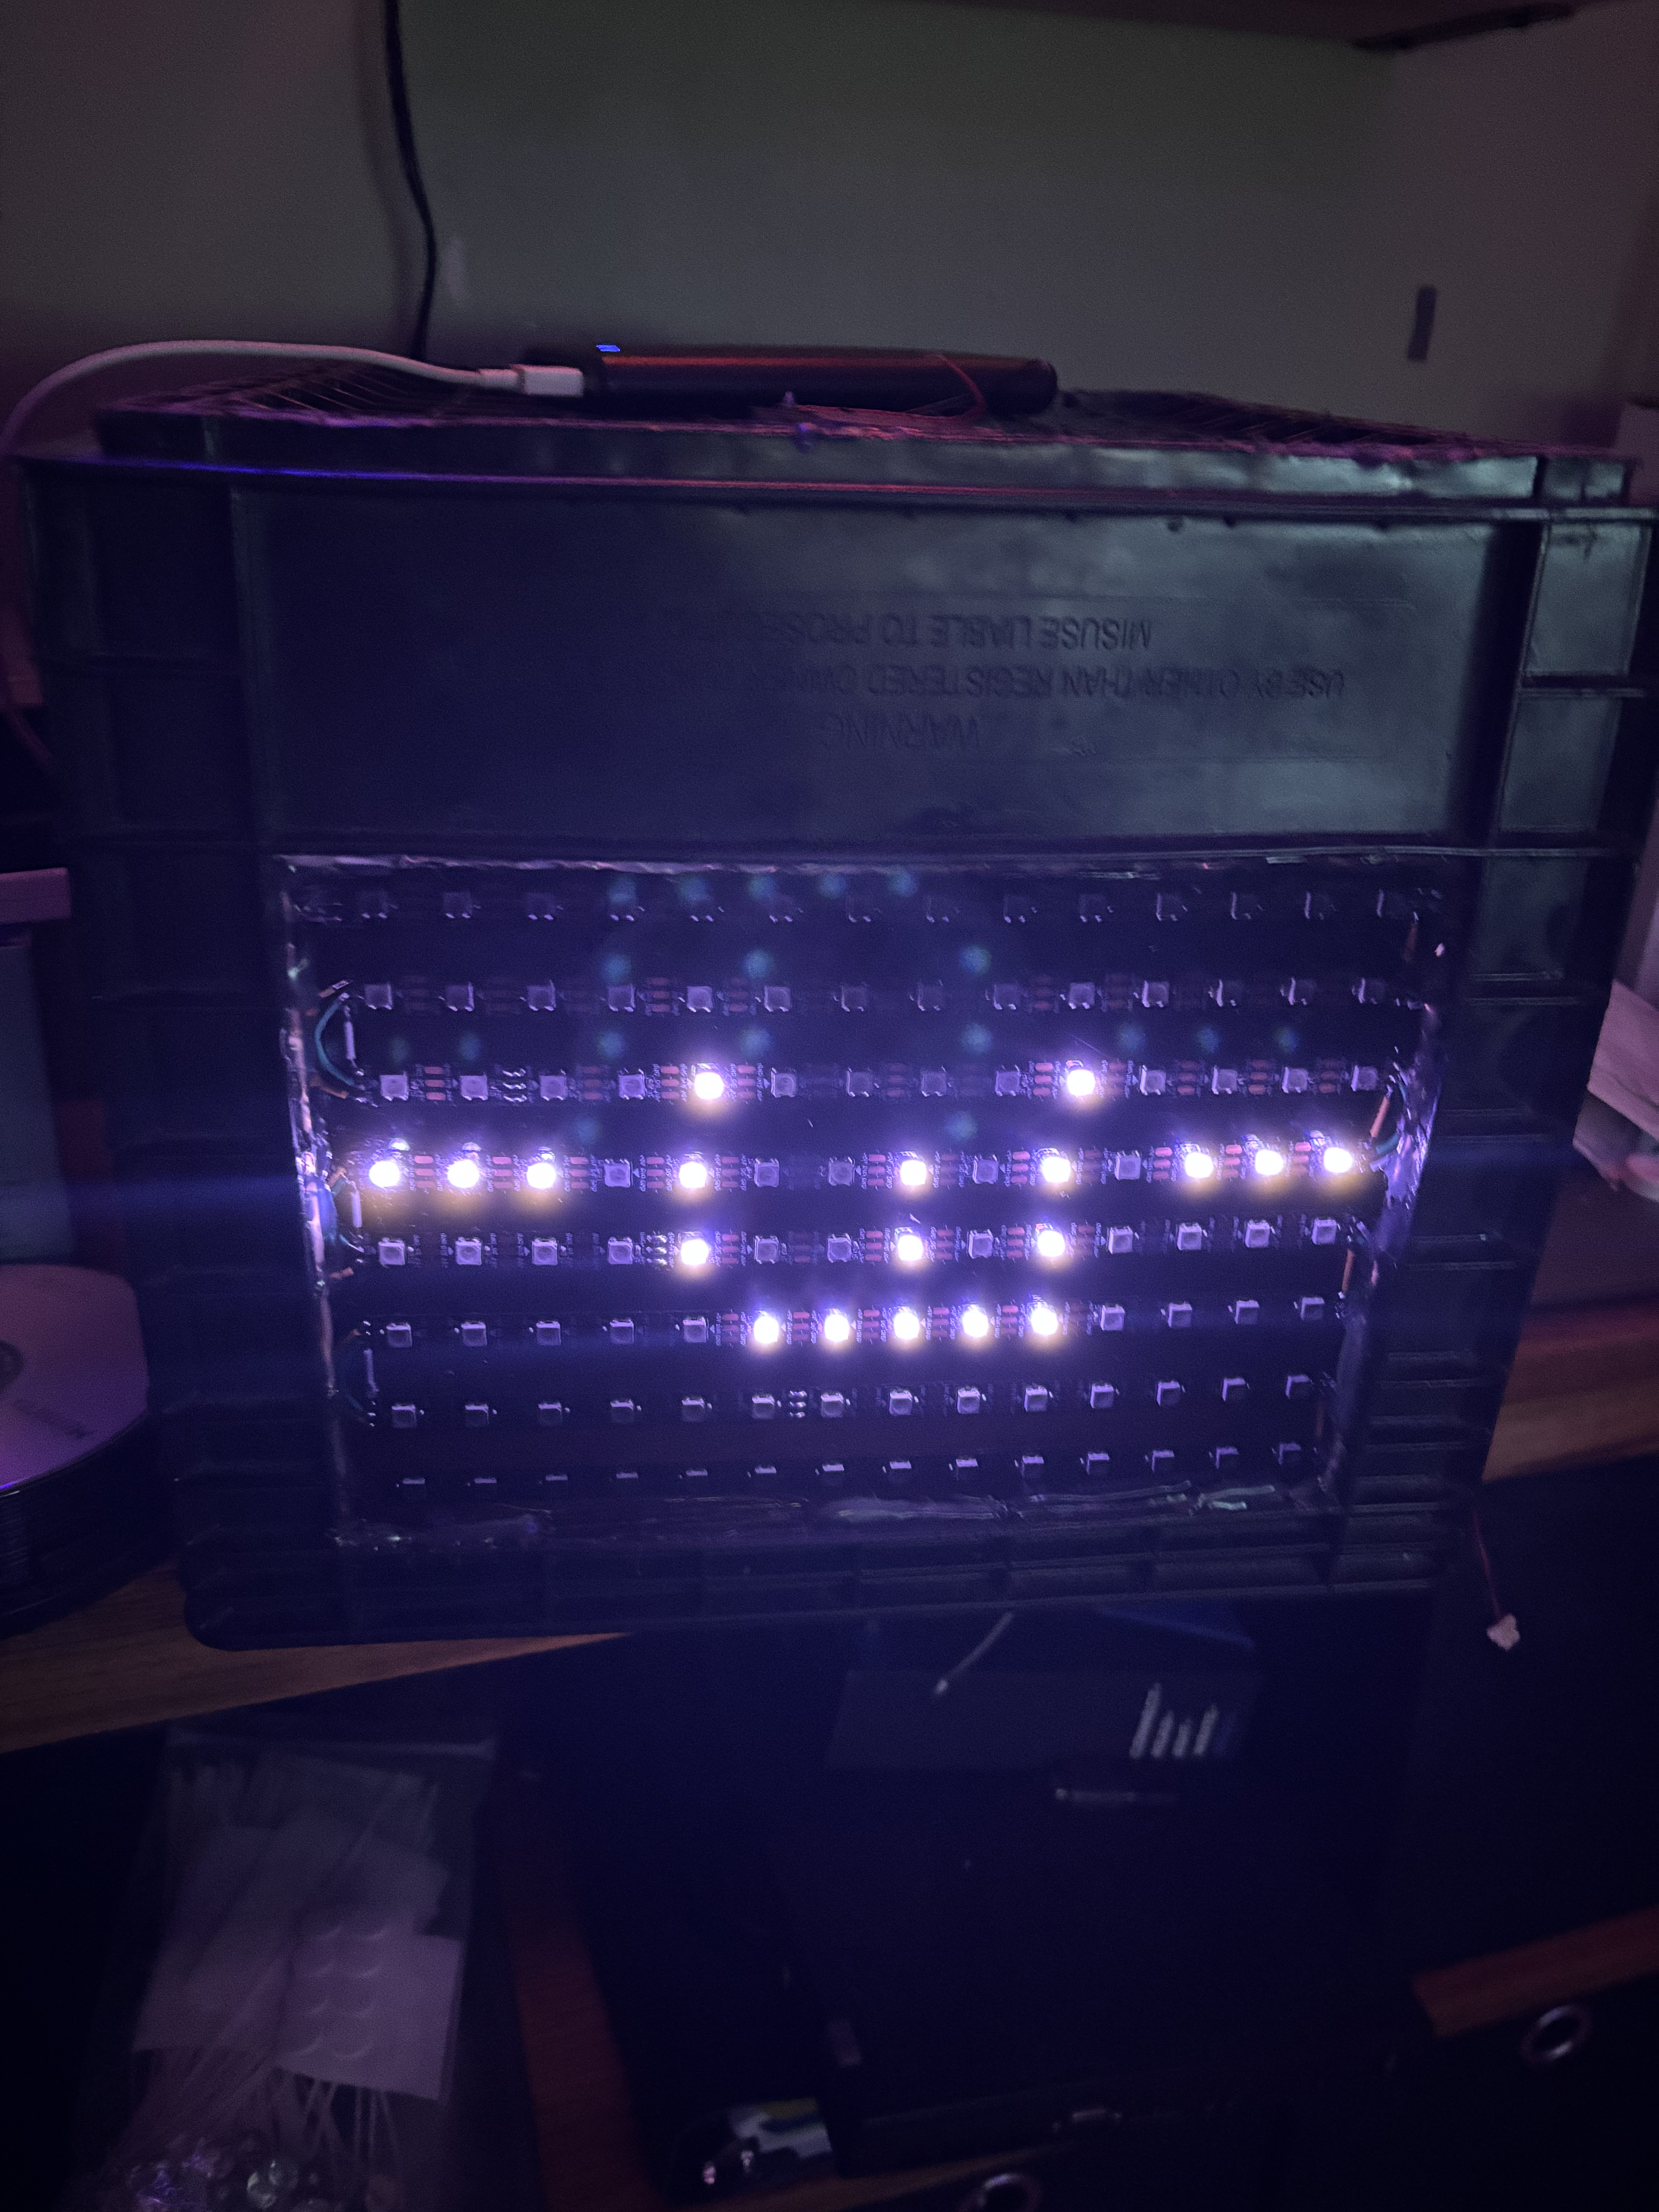
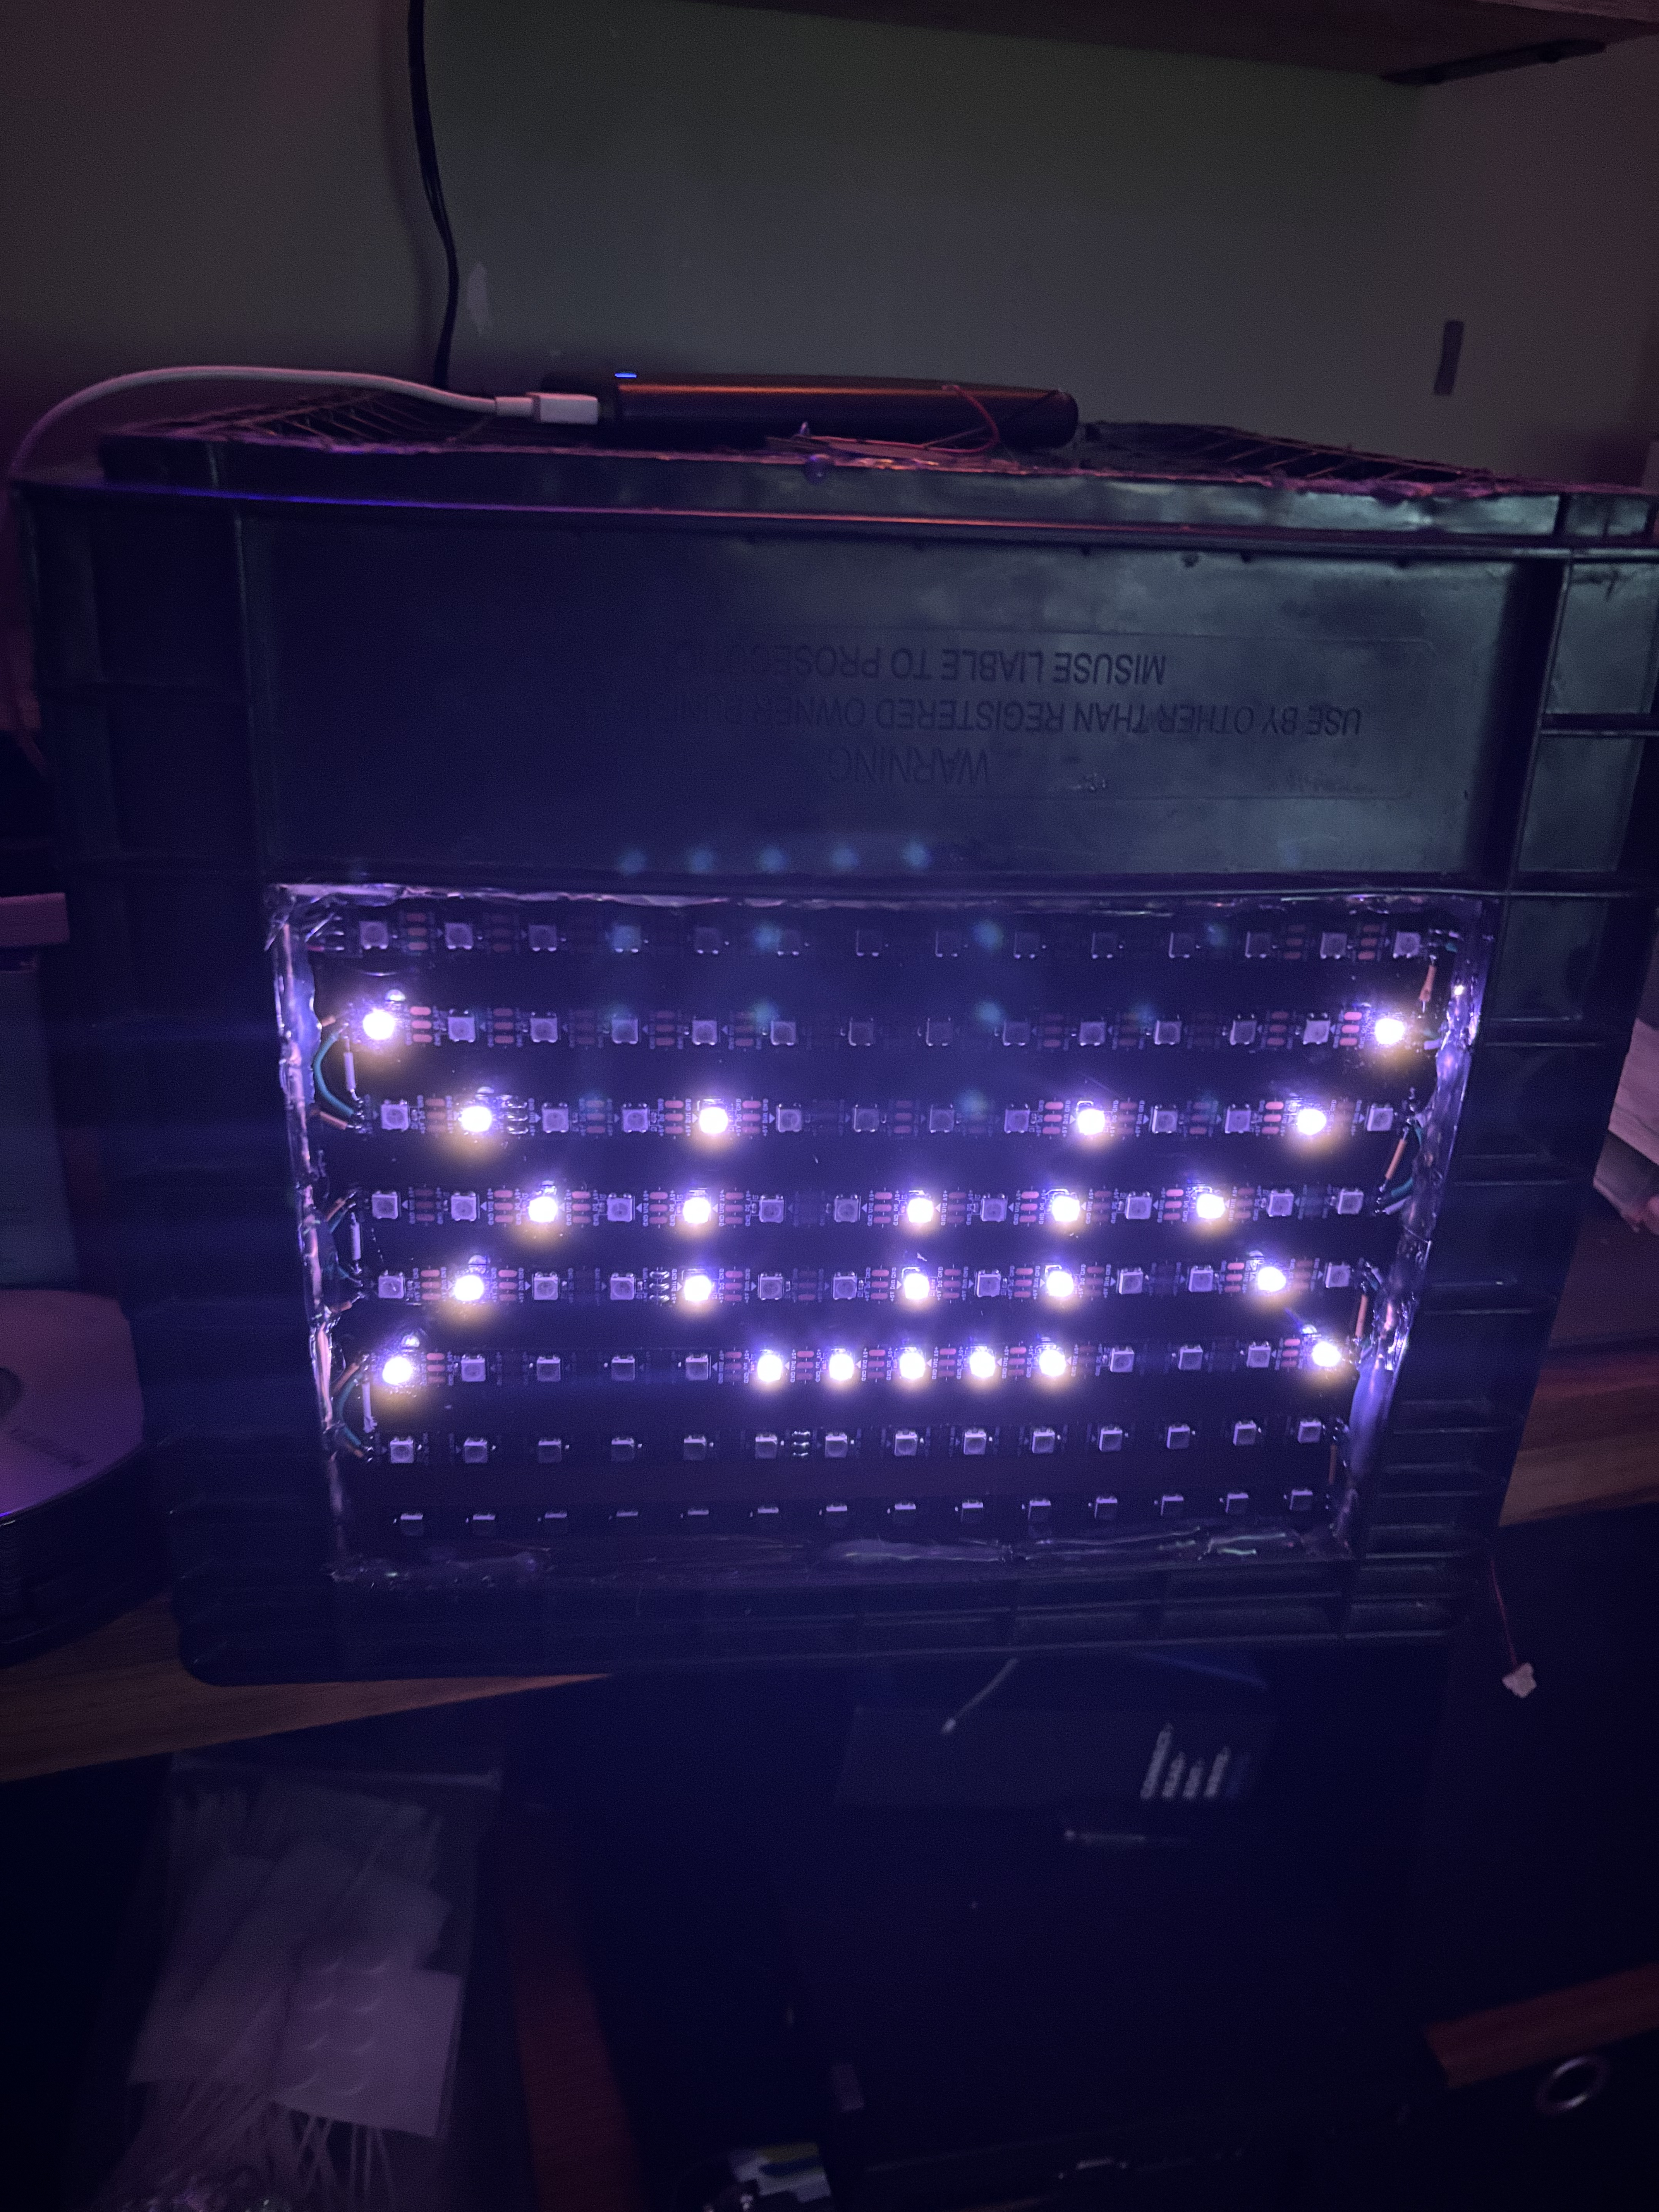
i tested that the matrix works by making a small sketch and uploading it to an arduino nano i had laying around.
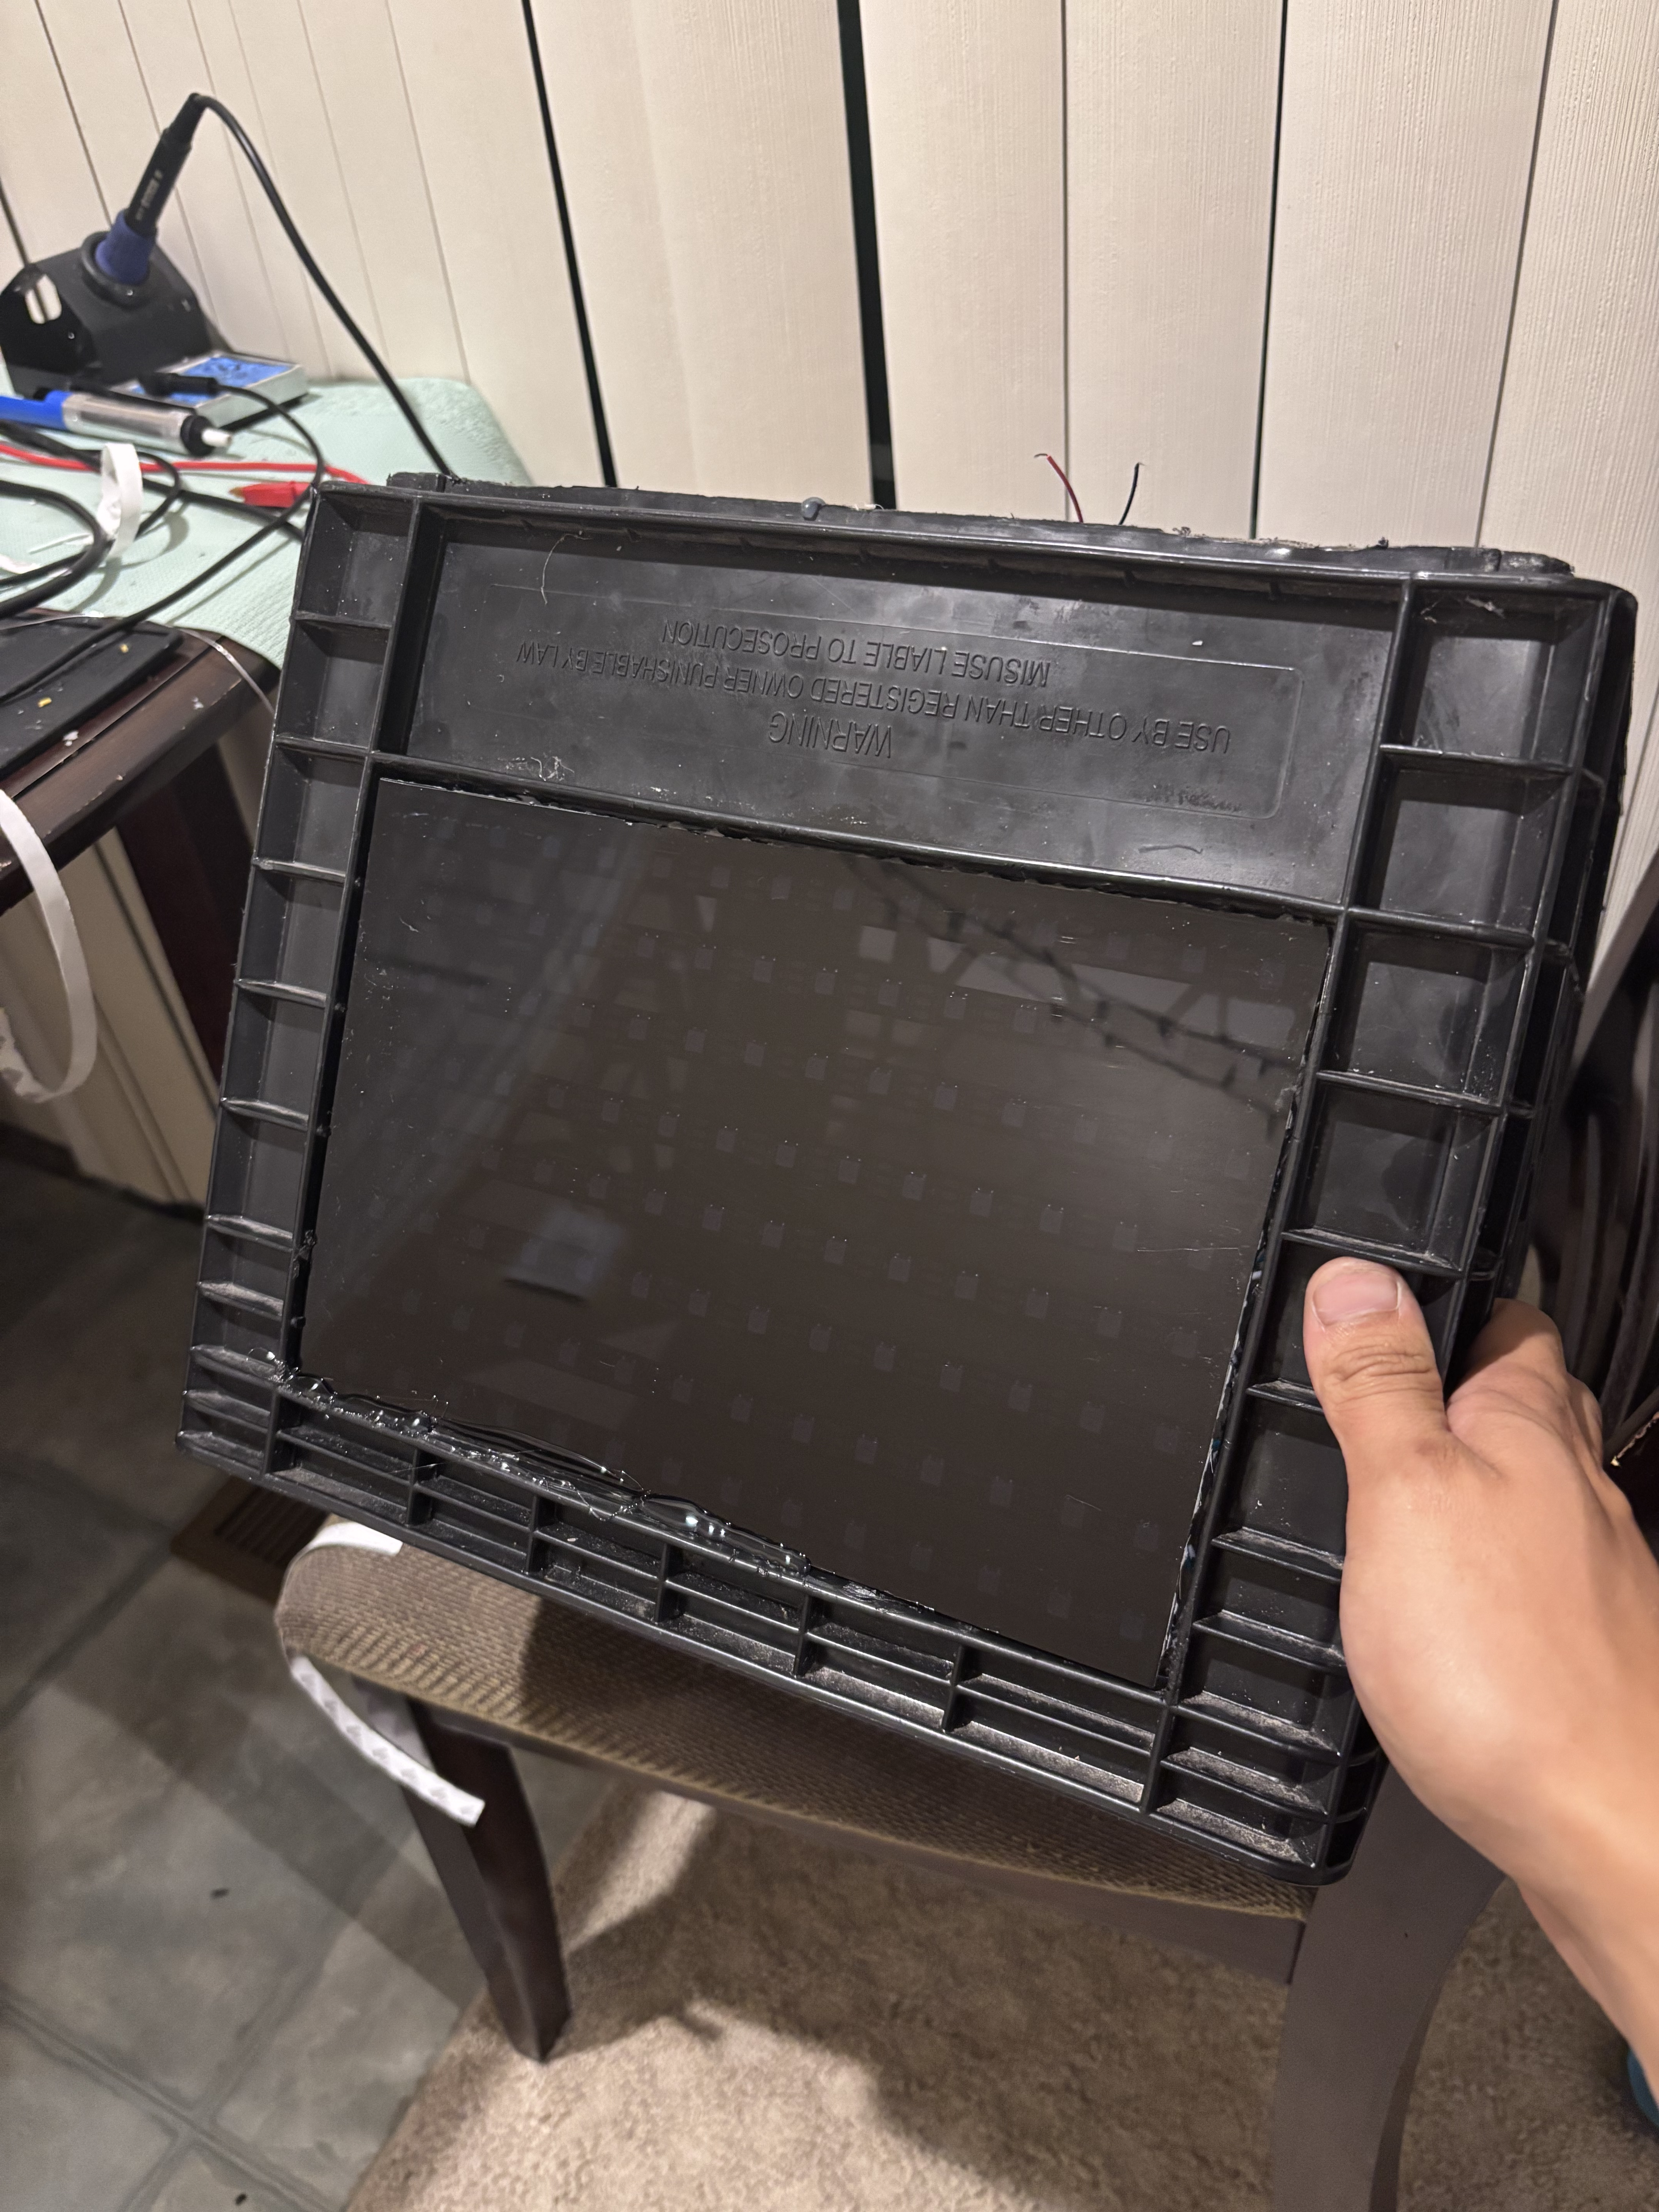
after confirming that it works, i proceeded to actually mounting it to the crate. i used hot glue to attach
the matrix to the crate from the inside. i then took the tinted plexiglass, only needing to trim a bit off
to get it to fit nicely in the hole of the crate, right in front of the matrix, then proceeding to
glue the tinted layer in place.
i also put in a small fan i had laying around in the top for ventilation :3
once i have gotten the important stuff assembled, i started working on what will controll it all. this has gone through
a few different controller versions, but going in order, i built the first controller around an arduino nano.
i bought a small project box and mounted it to the back of the helmet, i then put the arduino on perfboard
i had laying around, along with some headers to easily plug and unplug the LED matrix, the simple button board
i also built, which lives in the side of the helmet, an SSH1106 OLED display i have routed and going inside of
the helmet for the wearer to view, and a bit more.
making it all work
now onto the fun part, making it work. originally, i planned on it just having one button on the side of the helmet,
but i kinda had fun and it evolved into something a bit bigger :3
microcontrollers
there has been a few revisions, the first version using an arduino nano and now with the current revisions now using
an ESP32 as the microcontroller. the reason why i wanted to switch was for the larger flash and SRAM the ESP32
offered over the ATmega328P, along with WiFi and Bluetooth capabilities.
buttons
i made a button board and mounted it on the right side of the helmet, sticking it to the inside of the helmet facing
outwards through the lattice of the crate while sticking it in place with hot glue.
the button board has a total of four buttons in this order:
Matrix Control Button
Menu Up
Menu Enter
Menu Down
interface
inside the helmet, i have an SSH1106 OLED display for the wearer to interact with. the main home screen displays the
current mode the matrix is in, such as bitmaps, animations or flags, along with which current matrix is selected. the
main home screen also lists two options, "Bluetooth" and "Settings"
Bluetooth
as of right now, the helmet supports bluetooth control for media. that way, i can wear my airpods while wearing the
helmet, but still be able to easily control my music without reaching for my phone or trying to do the touch gestures
on my airpods.
while inside the Bluetooth menu, the Menu buttons are locked down strictly to media controls. the controls are:
Single tap Enter: Play/Pause
Double tap Enter: Next Song
Triple tap Enter: Previous Song
Menu Up Button: Volume Up
Menu Down Button: Volume Down
Long hold Enter: Return to Home Screen
Settings
inside of the Settings menu, there are a few options that can be set. you can switch matrix modes, change the matrix color,
change the matrix brightness and turn on/off the exterior headlight, which comes in handy when you're in a dark
environment.